Showing posts with label tutorial. Show all posts

Thursday, August 20, 2009

Printmaking Tutorial.

Well, darlings, I've done it: I've managed to create some other crazy embarassing self-portrait of myself for all of the world to see. My only consolation is that it is all for you... my dears! In these two videos, I demonstrate basic relief printmaking techniques using simple rubber and linoleum plates.

Supplies:
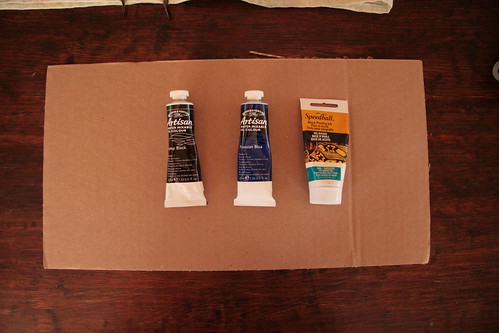
* Plate : rubber, linoleum, or wood in which to carve your design;
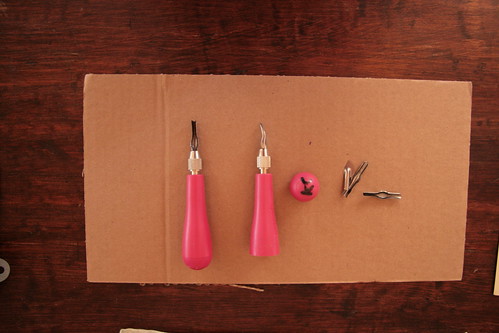
* Carving tools : to carve out the design;
* Ink : water-based, oil-based, or paint;
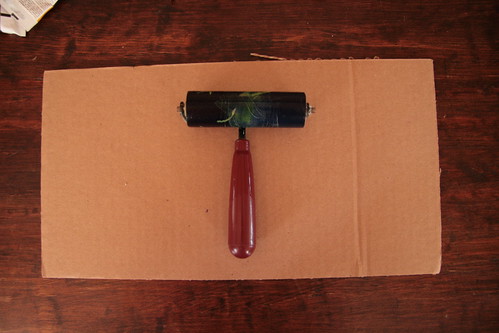
* Brayer : SOFT rubber {trust me};
* Glass or Plexiglass : to mix and spread ink;
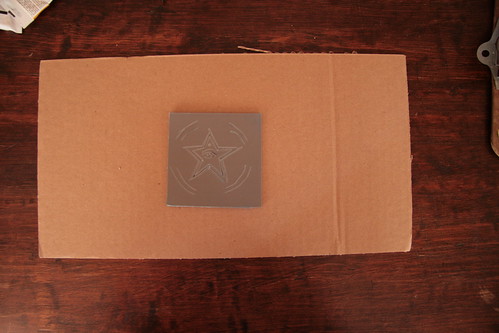
* Cardboard : to create registration;
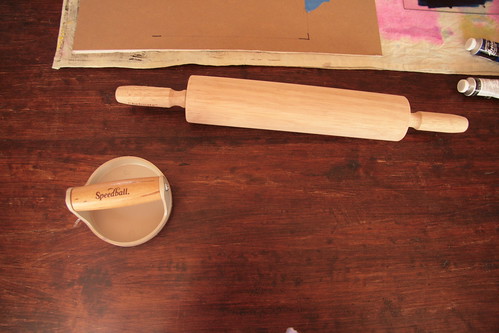
* Rolling pin or barren : can be make-shift;
* Paper & scrap paper : to print on, of course!
{See photos of supplies below.}


Printmaking Tutorial, part 1 from Kelly Connor-Sunrose on Vimeo.


Printmaking Tutorial, Part 2 from Kelly Connor-Sunrose on Vimeo.
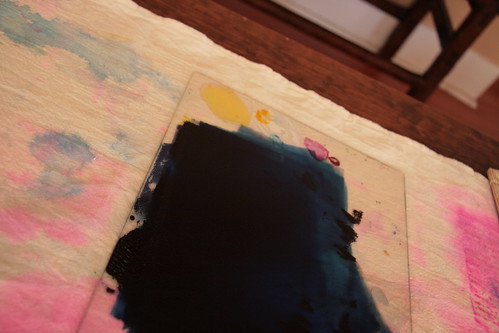
Photos & links for supplies.

{glass.}

{barren & rolling pin.}

{rubber plates.}

{"e-z cut" linoleum.}

{linoleum plate.}

{brayer. soft rubber.}

{registration.}

{cutting tools.}
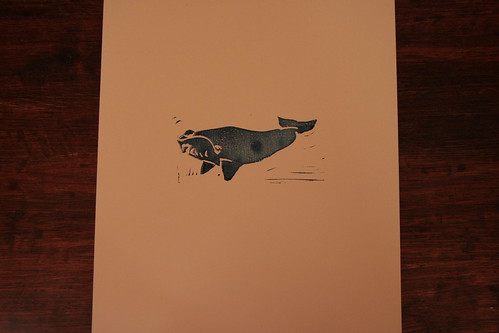
{the finished product.}
*)
enjoy!

Thursday, July 16, 2009

Tutorial. Digital Collage Lab

hi dears,
today's post features a tutorial on creating digital collage using Photoshop. for this tutorial, you'll need the following:

* Photoshop {or other similar software},

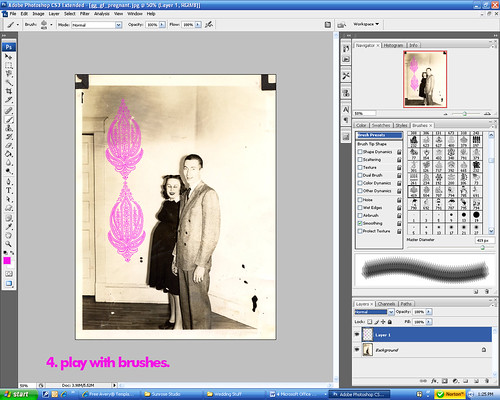
*A fun collection of Photoshop Brushes {there are lovely free ones available here & here},

*Photos or scans of artwork or stuff {you know how I love to experiment with the scanner--feel free to use scans & textures from my for the love of free textures set},

*The same patience you'd give your friends when teaching them something new.

ready? all right.

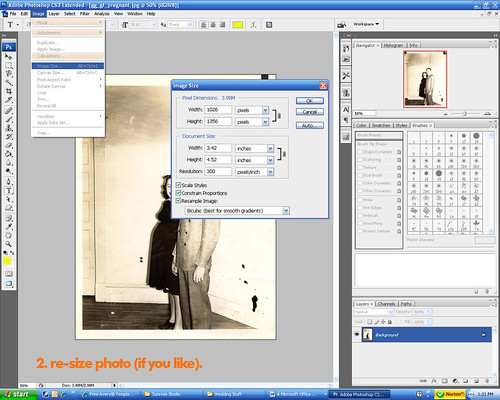
begin by opening Photoshop & selecting the size of document you'd like to create. {for web, use 72 dpi to keep file size smaller.}


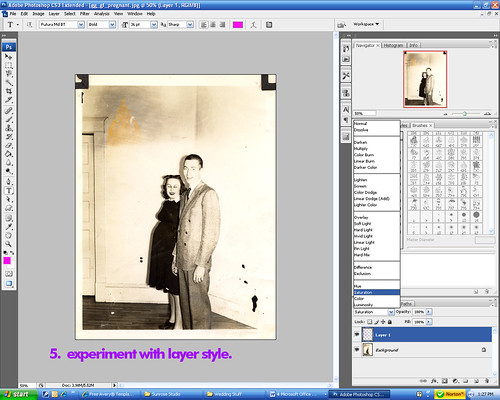
i chose a scanned photo of my grandparents taken when they were expecting my pops. {please be kind & respect the copyright of others when looking for images. there are many creative commons images available here and copyright-free images here.}


layering is key in digital collage. by keeping each action on a separate layer, you can easily discard something if you later decide you aren't crazy about it.


this sweet brush is from a lovely pack available here.


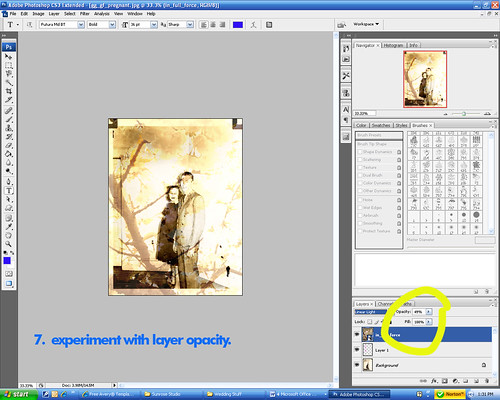
layer styles can do so much for a piece. i often come back and back to a layer to work with the style even after i have ten layers over top.


this is one of my spring-time in seattle photos, taken on an afternoon walk with my love & our pup.


i love how this looks like they've walked in front of a projector slide show or something. very soft.


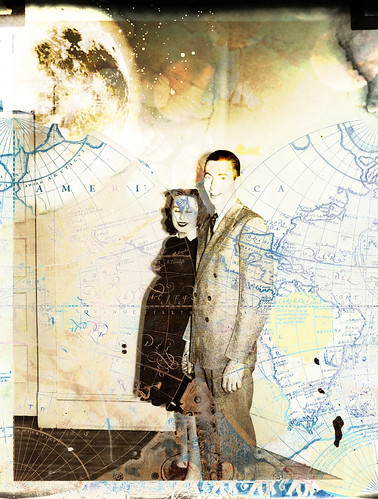
i added another layer, and used a great big map brush.

{the key is to P L A Y . it doesn't matter what it looks like. just add elements as you create a story: this one is all about the new world my grandparents were about to enter into as they welcomed a baby that spring of 1940-- oops, dad! i might have given your age away!}

now, it's your turn to try the digital collage. show me what you come up with dears! also, post questions below and i'll answer away!
xo


oh, and here is the final result!